A home security system you actually own
Motion detection, remote viewing and alerts, on cheap hardware and open-source software, with your footage staying yours.
Contents
Commercial security systems are expensive, and your footage ends up on someone else's servers. A Raspberry Pi and MotionEye, an open-source web interface for the motion project, give you the same core features for far less, and you keep your data.
What you need
- A Raspberry Pi 4. I used the 8GB model B, but 4GB is enough.
- A micro SD card.
- A camera. I used a TP-Link Tapo for its 2K quality, outdoor rating and easy streaming. This is not sponsored. A Raspberry Pi Camera Module works too.
- A network connection, and some patience.
Why not a Pi 3?
I tried my 2GB Pi 3 first. Recording at 2K while live streaming made it throttle, so a second of video took two seconds of frames, and it eventually skipped a minute of footage at a time. Get more RAM. The older MotionEyeOS image is also discontinued, so use MotionEye on regular Raspberry Pi OS instead.
Installing it
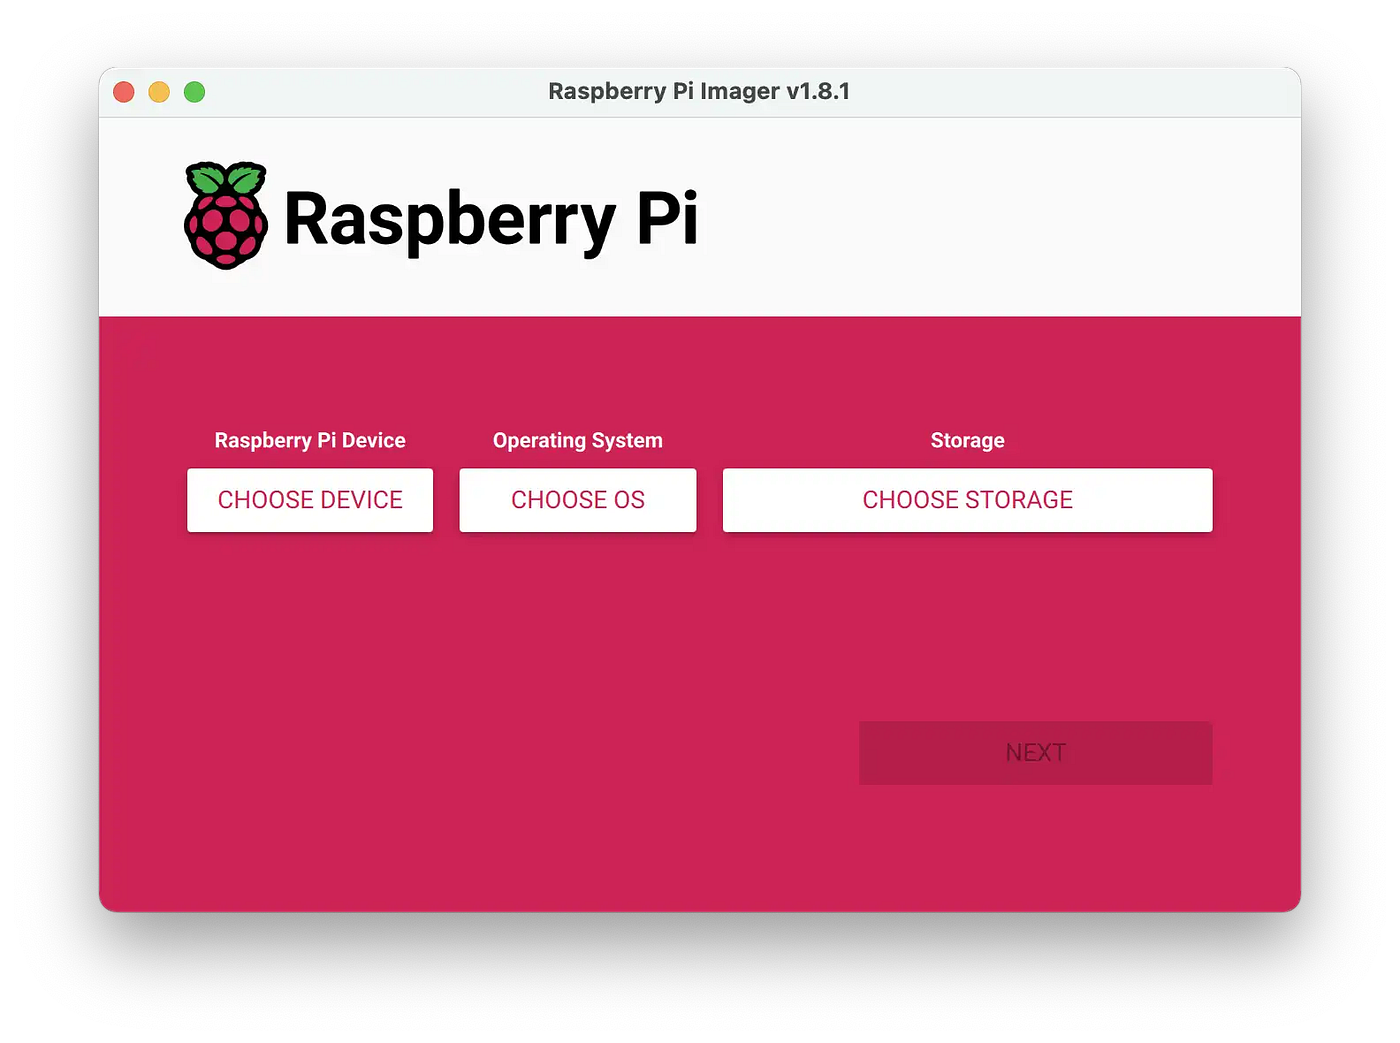
Flash Raspberry Pi OS with the official imager and set your Wi-Fi and user there.
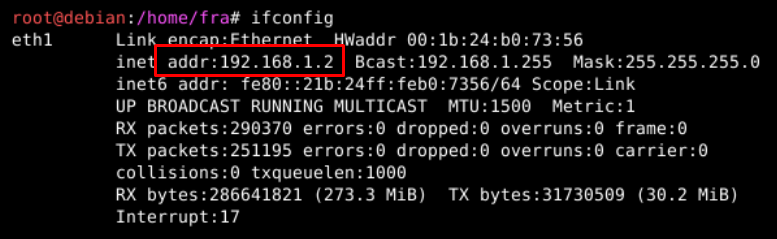
You will not need a monitor, as SSH is enough once you know the Pi's IP address. Your router, a network app or ifconfig will show it.
Then follow the install steps in the MotionEye repository, which end with:
sudo python3 -m pip install --pre motioneye
sudo motioneye_init
sudo systemctl start motioneye
The interface is on port 8765, with the user admin and an empty password. Set real admin and viewer passwords before you do anything else. You will find them in General Settings, behind the menu button.
The settings that matter
- Video device: add a network camera using its RTSP address. You can add several.
- File storage: leave plenty of room. Footage can also go to an FTP or SFTP server, Google Drive and more.
- Movie passthrough: keeps the original quality, but uses more storage and skips overlays.
- Frame change threshold: use a low value, under 2%, in changing outdoor light, and a higher one indoors.
- Motion gap: how many quiet seconds end a recording.
- Minimum motion frames: how many changed frames count as real motion.
- Mask: excludes areas of the image from detection.
- Schedule and alerts: set when the camera runs and how you get notified.
Checking your footage
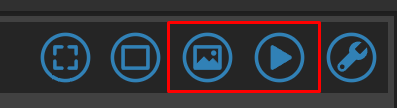
Hover over a camera and you get two buttons: one for saved pictures and one for saved videos.
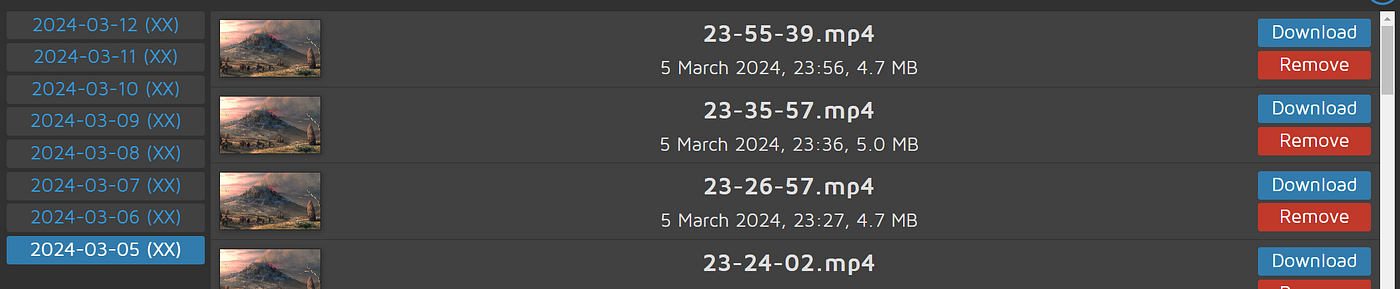
Files are grouped by day, and each one can be downloaded or removed.
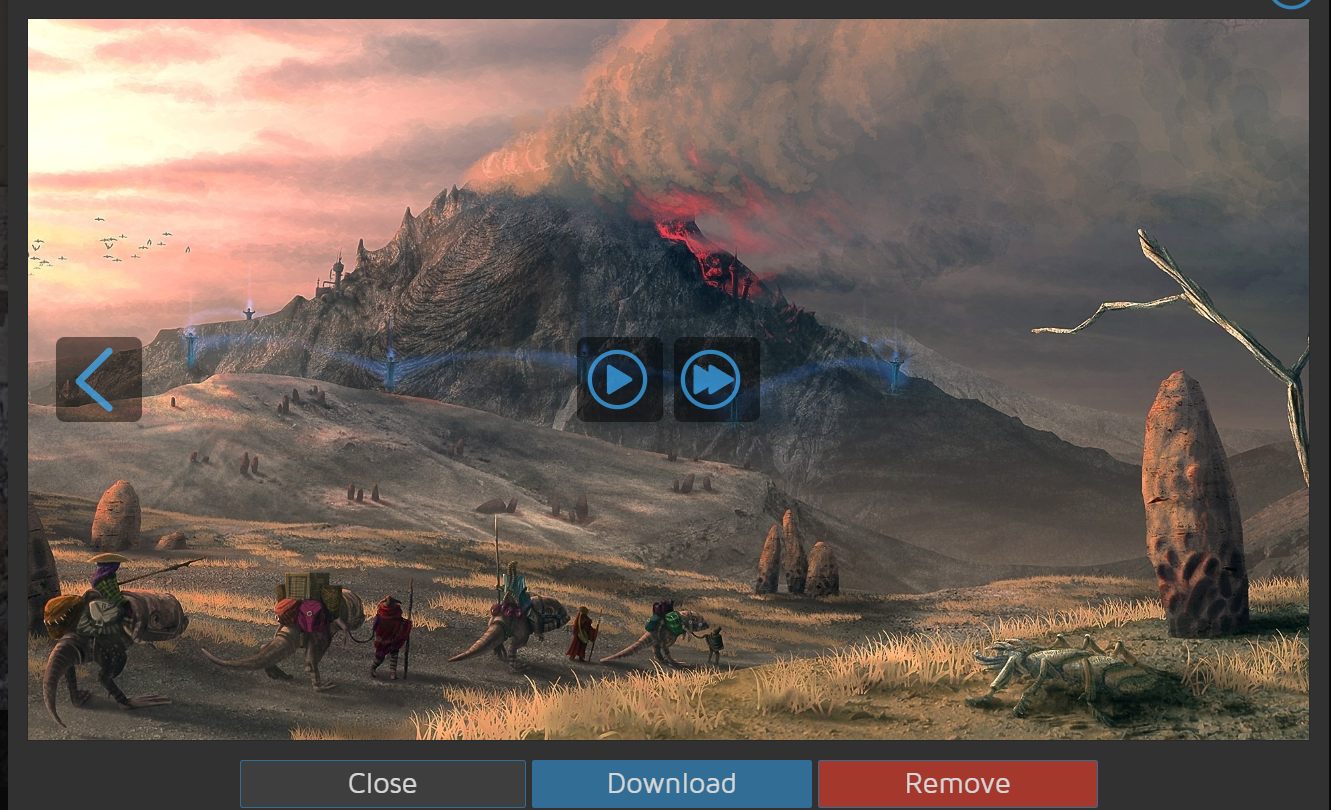
Opening a clip lets you stream it, or play it at double speed for the long ones.
Tuning it
Good values depend entirely on your location, so expect to experiment. Mask out plants and your pet's usual path, but never leave a gap an intruder could use.
The full step-by-step guide is on Medium, and I also shared it on LinkedIn.